Washing Instructions- Hats, Pop-opens, and Sleep Masks

I took several of my handmade products with me backpacking to Emigrant Wilderness a few weeks ago. When you come home from a trip like that, all you really want to do is take a long hot shower and sit down on the most comfortable chair in the world-- which, after sitting on granite for days, is any chair, by the way. Then you look over at your backpack, which you can smell from across the room, and contemplate how long you can put off the task of washing its ENTIRE contents.

But don't feel too sorry for me:

SunhatEmigrant
SunhatEmigrant

There's my reversible sun hat! In the wild! It was the perfect hat to bring because it had a large brim, and was lightweight and highly packable. But man, did it get dirty! I'm talking sunscreen-sweat-bug spray-dirt-dirty. Washing it an alpine lake is a fantastic option for cleaning out in the woods... but back in San Francisco, I wanted to get everything CLEAN-clean. Which, by that I mean actually using soap.

So I'm taking the opportunity to share some important washing instructions for a few of the products I make.

Photo by Isabel French.

1.) Pop-opens:

This felt like a good opportunity to make a really grainy GIF. Please enjoy!

Basic instructions: Hand wash exterior, sponge wash interior.

Detailed instructions: Pull the interior out of the bag. Using lukewarm soapy water (I use a clean and free detergent), hand wash the exterior. You can soak it up to the zipper, just avoid soaking the interior. Then, take a sponge and wipe down the interior. Hang to dry or rest on a drying rack. Just 'pop' the inside back in once dry!

This is where I'll point out that people DO wash laminated cotton in the washing machine, and have no problems. It's up to you, in the end. :)

2.) Reversible Sun Hat:

Basic instructions: Machine wash, hang dry.

Detailed instructions: Machine wash with cold water in a regular load of laundry. To dry, I used a vase to prop the hat up so it dries in its original shape, but this is not necessary.

3.) Sleep mask:

Basic instructions: Hand wash, dry flat. That's it!

--

All of these items came in handy on my backpacking trip, by the way. Some things that I'd add to my list of handmade items to bring for next time: A variety of bandanas (for ascot purposes) and several small drawstring bags for separating and sorting items inside backpack.

All in all, 31 miles, four days, one blister, and a lot of dirt. But worth every bug bite.

Love,
Ashley

Homage to the Pioneer Women

One of the things that I love about quilting is the mixture between the precise and the improvised. There’s nothing that gives me more satisfaction than when my corners nestle perfectly when I’m chain-piecing a quilt top together, but I also rebel against repetitive quilt blocks. I suppose that is one reason why I would be considered a “modern” quilter.

But it turns out my “classical training” has influenced my designs a bit more than I thought.

I wrote a blog post a year ago about a quilt I made for a dear friend who was moving in which I used the friendship star block. I just love how the shape of the star reminds me of a person walking forward with their head held high in a posture of self-assuredness. So this year, when my friend Annabel asked me to make a quilt using her stunning new fabric line for Windham, Maribel, the confident friendship star automatically popped into my head. It seems I just can’t shake this wonderful block.

Well what do you know... upon further research, I discovered that this was a favorite quilt among Pioneer women who made their journeys West.

Allow me to quote from the National Park Service website:

“The quilts the homesteaders brought with them were a comfort to these women who traded their home, family and friends in the East, for the uncertainty of traveling through vast prairies in the West. A quilt that held special value to the pioneer women was the Friendship Quilt.

Often it was done is secret, and then given to the woman as a going away gift. It usually was a group effort, with each block being sewn by a friend or relative with their name embroidered in the center. Putting a Friendship quilt on the bed, gave a woman a sense of connection with her former way of life. It kept alive the memory of family and friends, providing comfort and company during the difficult days of homesteading.

One woman homesteader said, "When I get lonely, I read the names on my quilt. "It was like putting her arms around someone and giving them a hug.”

Aw shoot, as a woman who herself journeyed from East to West… it’s NO WONDER I feel an affinity for this block! Not only does the star represent a strong, independent friend, but it evokes a warm embrace from said friend, and others. It's just perfect.

So from my homestead to yours, here’s my quilt, “Maribel’s Friends,” a variation on the block that is a simple combination between the half-square triangle and the simple square, chain-pieced together. Of course, the only things missing are the names of Maribel’s friends embroidered in the center:)

I'm so grateful to Annabel of Little Pincushion Studio for the opportunity to work with her lovely fabric. Have a peek at the look book here, and ask for Maribel by Annabel Wrigley at your local quilt shop!

Here's another little item I made with Maribel fabrics, modeled here by my friend Anne, who, by the way, is one hell of a quilt-holder-upper. And she also gives really wonderful hugs. :)

Pattern for reversible sun hat found on Creativebug.

Maribel's Friends: Mini Quilt Pattern:

Finished squares measure 3”, finished border measures 1 1/2".

You'll need:

-16 half square triangle blocks (See tutorial below)

-21 squares varying prints from the Maribel collection, cut to 3 ½”

-4 squares of white fabric, cut to 3 ½" for the center of each friendship star

- 2 strips for border, cut to 2" x 40"

Arrange your squares on a design wall or floor, following the photo. Chain-piece your squares together, saving the pressing for the end. (If you are looking for a tutorial on how to chain-piece, might I suggest my class on Creativebug, in which I talk you through the whole process.) Add border strips. Back, baste, quilt, and bind!

Feel free to adjust the size, or add more blocks. Just adopt that Pioneer spirit... sky's the limit!

HST tutorial:

Cut 8 squares to 3 ⅞” (4 colors and 2 low volume white prints, 2 solid white) and follow tutorial to make HSTs. Pair colors with low volume whites or solid whites!

Love,

Ashley

Summer News

Happy Summer!

School is out and the sun is out (occasionally) in San Francisco! There has been a LOT going on over here, so allow me to cut to the chase.

Attention World!

I LIVE STREAMED! Yep, I made my very first infomercial, an impromptu Facebook live video from the Patchwork Show Oakland a couple of weeks ago. Thanks to the team at the Patchwork Show, and also a special thanks to my friends Justin and Jamieson for helping, it was like sweet serendipity the way that whole thing went down.

In case you missed it and need a few chuckles, here it is:

[video width="640" height="640" mp4="http://www.alphabetsummer.com/wp-content/uploads/2016/06/PatchworkLivestreamJune52016.mp4"][/video]


Attention Pop-Open Coveters!

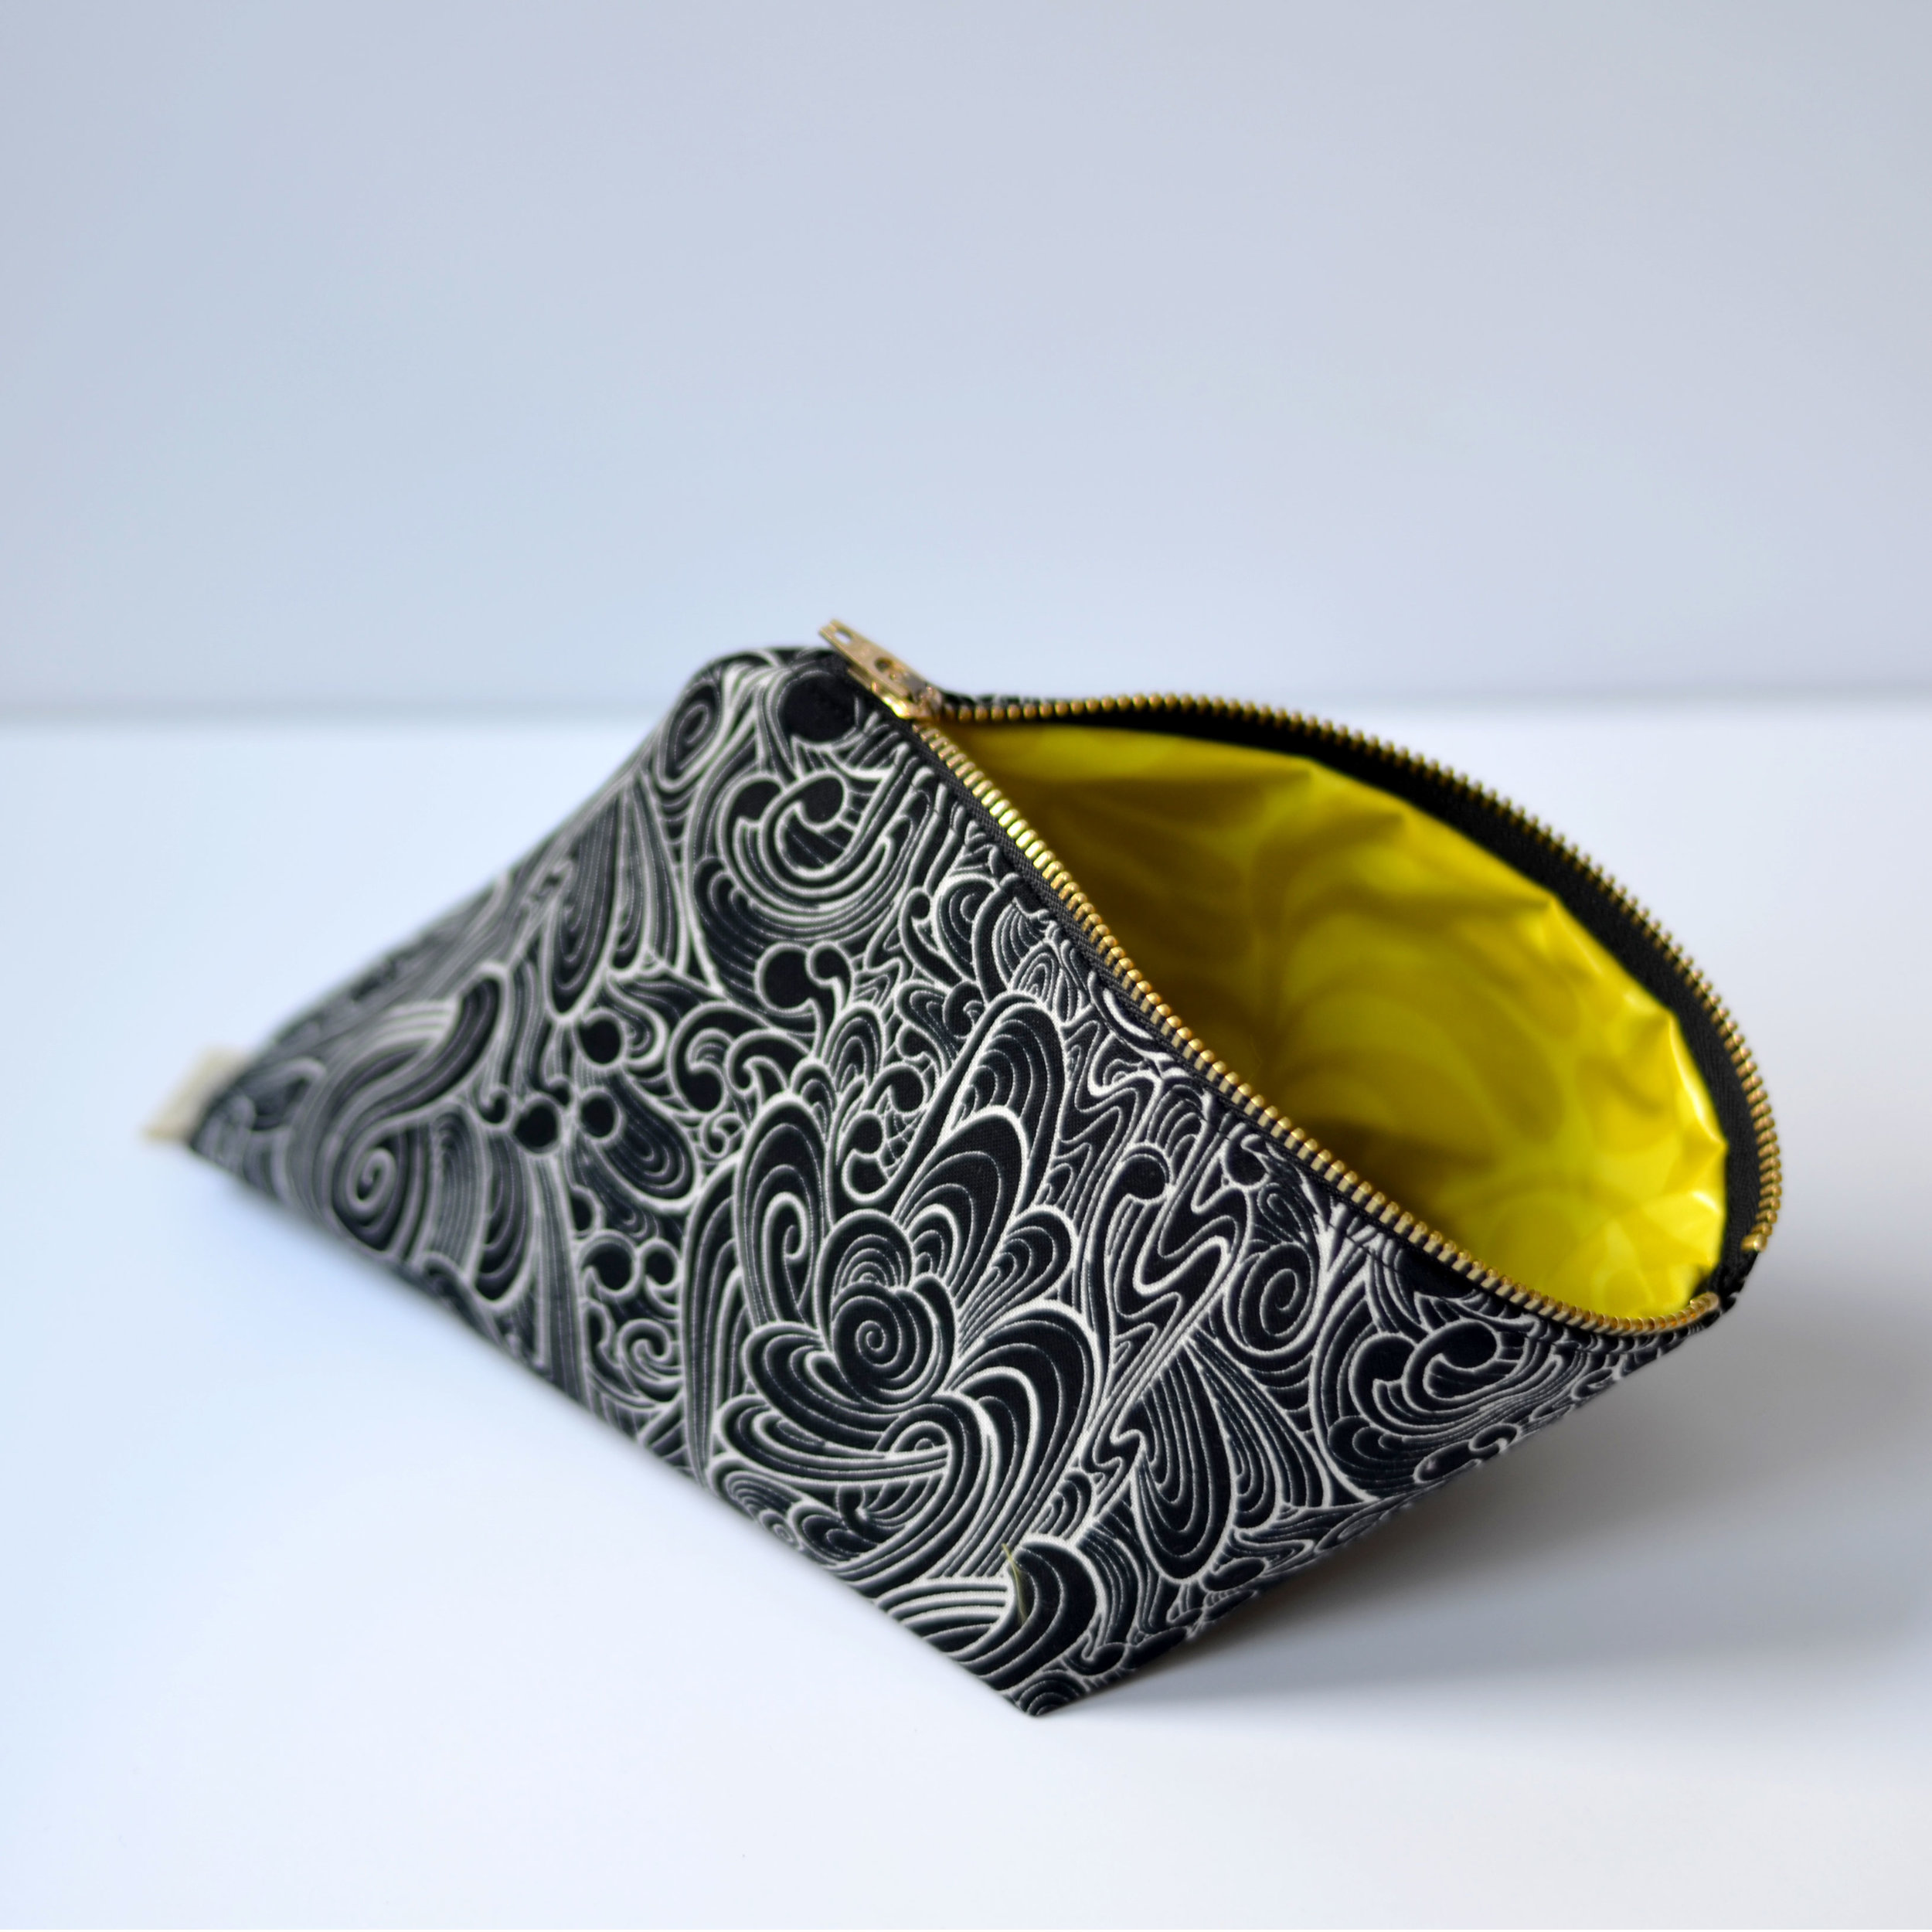
My Etsy shop has a new look. Also, I’m going to be adding this beautiful medium size to my offerings, as well!

BlackYellowPop

Attention Sewists!

My latest post on the Dear Handmade Life blog is a tutorial on how to make this super easy sleep mask. I’m taking mine on an upcoming backpacking trip, since that summer sun makes it almost impossible to sleep past dawn. You should make one, too! 

SleepMask_GIF3_Slower

Awesome photography by Isabel.

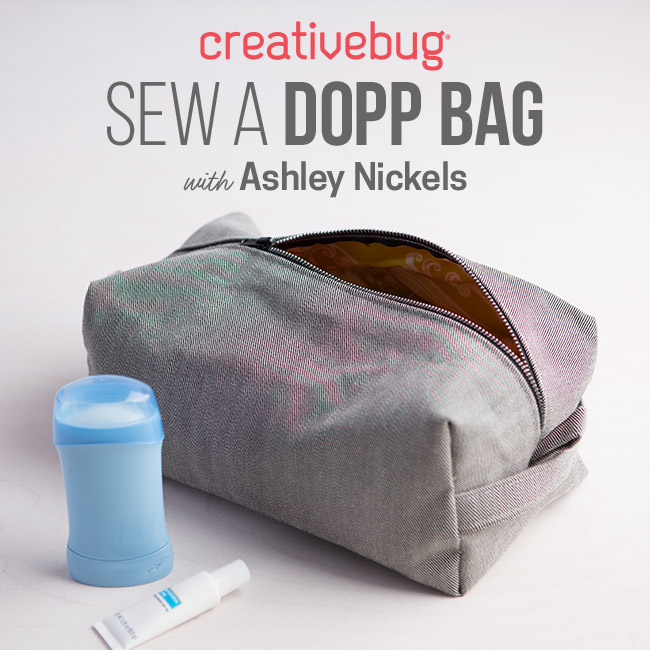
Also, my latest Creativebug class, How to Sew a Dopp Bag, is the June Bag of the Month! If you haven’t checked out the trailer to see if it’s your thing-- which I can already tell you it is-- here you go! Don't forget to use the promo code ASHLEY for a free two-week trial!

June_BagOTM_Blog_650x650

Attention Pop-Open Owners!

Are you taking yours on any trips this summer? Take a photo of your pop-open in the wild, like my friend Diali has here in the Grand Tetons! Tag me (@alphabetashley) and use the hashtag #popopensinthewild and it could be shown on my page! Also, at the end of the summer, there might be a prize involved. Just saying.

IMG_9213

Attention Quilters!

I'm excited to be teaching at Quiltfest Oasis in Palm Springs this October 6-8th! I've never been to Palm Springs and I feel like it might officially make me Californian. I can't wait! Head over to the site to see why I'm so honored to be a part of this lineup.

Also in October, I'll be returning to the Pacific International Quilt Festival in Santa Clara! Head over here to see my class offerings and also who else will be teaching... hint: It's my mom!

Attention World, Again!

Last but certainly not least, I’m thrilled to share that an article I wrote will be appearing in issue #30 of Uppercase Magazine! More on that soon, but if you aren’t a subscriber yet, use the code “summer30” for a discount. This magazine is one of my absolute favorites, and I look forward to receiving it more than almost anything. To say I'm honored that words that I wrote will be printed in this beautiful publication is a vast understatement.

That is all, for now. Thank you for reading, and happy summer out there! I'd love to hear from you, especially if you have any ideas for more silly live videos!

More from me really soon.

Love,

Ashley

What's New

Lots of fun stuff happening over here!

First of all, this week is QuiltCon 2016 in Pasadena, CA. I'm thrilled for several reasons, one of them being the cool classes I'm taking, including my first long-arm class! I'm excited to see friends and meet new ones, hopefully. And of course, I can't wait to see the one and only Gwen Marston as the keynote speaker this year. But... it's also the first time I have a quilt hanging in the show! I'm extremely giddy to see "Pixels" hanging on the wall of a show... it will be a special moment for me, for sure. More on this soon!

Secondly, my latest class on Creativebug is out! The Perfectly Pixelated Jelly Roll Quilt is a great beginners quilt top project. It features my favorite chain-piecing technique, and explores how to use a design wall to map out your design. 

If you haven't signed up to Creativebug yet, now's your chance. They're offering a free month subscription if you use the code MSTAR. What are you waiting for? Just head over and check out their instructors and classes if you don't believe me about how amazing it is.

Thirdly, I'm so pumped to be writing a monthly post for the Dear Handmade Life blog. If you're not familiar with this website, it is one of the many glorious brain children of Nicole Stevenson and Delilah Snell, of Craftcation and the Patchwork Shows that I participate in and love. Check out my maker profile and see my first DIY post, this super sweet and simple fabric wallet.

Simple-DIY-Fabric-Wallet-from-Dear-Handmade-Life

And on the personal project side, I can finally share this baby quilt that I made for my dear friend’s new baby boy. I used these delicious constellation and moon phase prints from Moda, and love both the random chaos and occasional order that the half square triangle design created. I have an image of him, as he grows, staring at the triangles and squares and finding new patterns and different shapes each time. 

WillsGalaxyAshleyNickels

I just love this quilt, and I hope he does too.And don't forget, registration for Craftcation is open!

See you soon,

Ashley